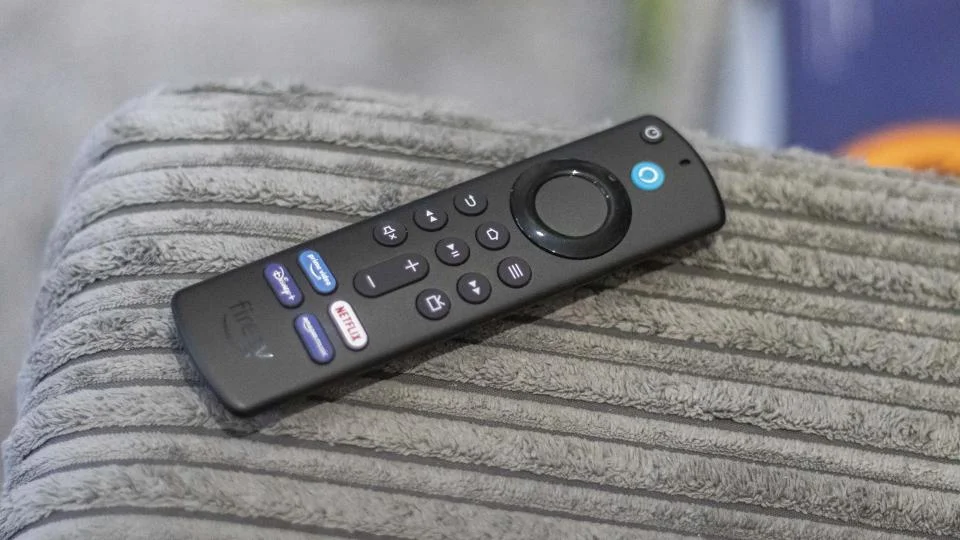
Do you have a Firestick but don’t have the remote?
Don’t worry, you can still connect your Firestick to WiFi without it!
In this blog post, we will walk you through the process of connecting your Firestick to WiFi without using the remote.
We will also provide some tips on how to troubleshoot any issues that you may encounter. Let’s get started!
A few weeks ago I decided to take my family for a weekend away, when we travel we usually take our Firestick with us so we can watch our favorite shows.
On this occasion, I had forgotten our Firestick remote which meant it would not be possible to connect our Firestick to the AirBNB’s WiFi.
After doing some research online I discovered that there were a few different ways to operate the Firestick without the remote it came with.
You may connect a Firestick to WiFi without the remote by using the Fire TV App on your phone, an HDMI-CEC Remote, or even an Echo Device connected to the Internet.
I read on some internet forums that you can use a Universal remote to connect to your Firestick but this advice is incorrect unless you also buy a special adapter for the Firestick.
The Firestick uses Bluetooth and not infrared like most universal remote controls.
I’ll quickly run through each of these tips in case you’re ever in this situation.
Use an HDMI-CEC Remote
You can control your Firestick with an HDMI-CEC remote.
CEC stands for Consumer Electronics Control.
By enabling “HDMI-CEC,” you may control your TV and other HDMI devices with one remote. This feature allows you to use one remote to operate multiple devices, but it is usually disabled by default.
This is perhaps the most confusing aspect of HDMI-CEC.
Manufacturers frequently do not label this feature “HDMI-CEC” and some even have their brand names for this function.
Manufacturers frequently use the following terms to refer to CEC:
- Anynet+ (Samsung)
- Aquos Link (Sharp)
- BRAVIA Link and BRAVIA Sync (Sony)
- HDMI-CEC (Hitachi)
- CE-Link and Regza Link (Toshiba)
- SimpLink (LG)
- HDAVI Control
- EZ-Sync
- VIERA Link (Panasonic)
- EasyLink (Philips)
- Realink for HDMI (Mitsubishi)
- CEC (Vizio)
How to Get CEC Working on Most TVs
Enabling HDMI CEC is different from manufacturer to manufacturer, but they generally follow the same steps. You go into your device settings, you turn on HDMI CEC, and then you may or may not need to discover other devices.
Here, we’ll review how to set up HDMI CEC on six popular TV brands.
Hitachi (HDMI-CEC)
- Press the MENU button on your Hitachi remote.
- Use the right and left directional buttons to find the Setup submenu.
- Use the up and down directional buttons to highlight HDMI-CEC.
- Press the SELECT button.
- Select On to enable CEC.
LG (SIMPLINK)
- Hold the Settings button on your LG remote for 5 seconds to open the Settings menu.
- Select All Settings from the bottom right corner of your display.
- Select General from the left menu.
- Select SIMPLINK (HDMI-CEC).
- Set SIMPLINK (HDMI-CEC) to On, and confirm.
Samsung (Anynet+)
- Press the Home button on your Samsung remote.
- Use the directional pad on your remote to navigate and select Settings.
- Select System.
- Select Expert Settings.
- Select Anynet+ (HDMI-CEC).
- Select On.
Vizio (CEC)
- Press the MENU button on your Vizio remote.
- Select System.
- Select CEC.
- Use the arrow buttons on your remote and set CEC Function to Enable.
Toshiba (CE-Link)
- Press MENU on your Toshiba remote.
- Use the directional buttons to highlight Options.
- Press the OK button.
- Select HDMI CEC Control Setup.
- Set HDMI CEC Control to On.
Sony (BRAVIA Sync)
- Press the Home button on your Sony remote.
- Use the directional buttons to highlight Settings.
- Press the OK button.
- Select Watching TV.
- Select External inputs.
- Select BRAVIA Sync settings.
- Enable BRAVIA Sync control.
Use Your Phone as a Firestick Remote
You may not know this but the Fire TV app has the ability for you to control your Firestick.
The only problem is that your Firestick and phone need to be on the same Wi-Fi network.
The workaround for this is to have two mobile devices.
Here are the steps I used to do this:
- Install the Fire TV app on your phone/tablet
- The first time you open the Fire TV app, you’ll be asked to give the app Local Network Permission — click Sure.
- Create a hotspot on your other device with the same SSID and password as your home network
- Connect the Firestick to the hotspot
- Connect the phone or tablet with the FireTV app to the hotspot
- You now can control your Firestick with your phone
- Go to settings in your Firestick and connect it to the new WiFi network
You can shut down the hotspot once it has been linked to the new network.
Use an Echo Device to Connect Firestick to WiFi
Echo devices allow you to control your Firestick with voice commands, but again they must be on the same Wi-Fi network.
This process is very similar to the above but instead of using two phones, we will use a mobile device and an Echo device.
- Create a hotspot on your other device with the same SSID and password as your home network
- Connect the Firestick to the hotspot
- Connect the Echo Device to the hotspot
- You now can control your Firestick with voice controls and change the network settings on the Firestick
If you still can not get your Firestick to work without the remote it may be worthwhile buying a new Fire Stick remote control, a remote control that is compatible with Amazon Fire Sticks or it may be cheaper to buy a new Fire Stick especially if they are on sale.


