
If you take your Mac with you everywhere, it’s likely to connect to a number of private and public Wi-Fi hotspots over the course of that time.
These networks are remembered by macOS so that if your Mac reconnects to one of them, it can automatically connect to it without you having to manually choose the network or input the password again.
You can edit this list of “preferred networks” that your Mac maintains and modify individual network connection settings if you so choose.
Forgetting a Wifi network on Mac is easy, and in this article, we will show you how it can be done.
1. Go to System Preferences by clicking the Apple logo on the top left of your device
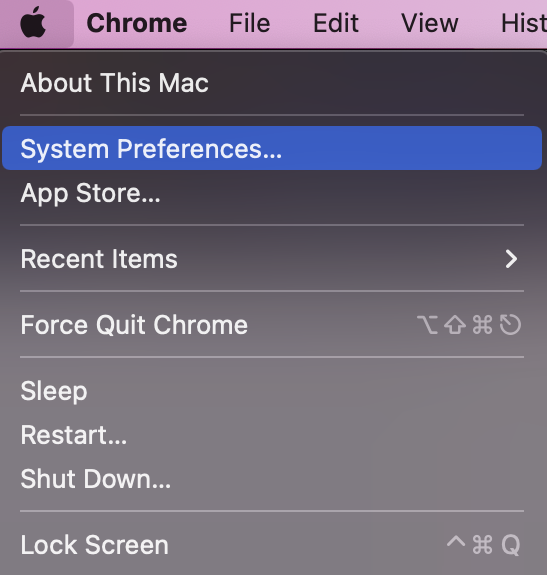
2. Select Network

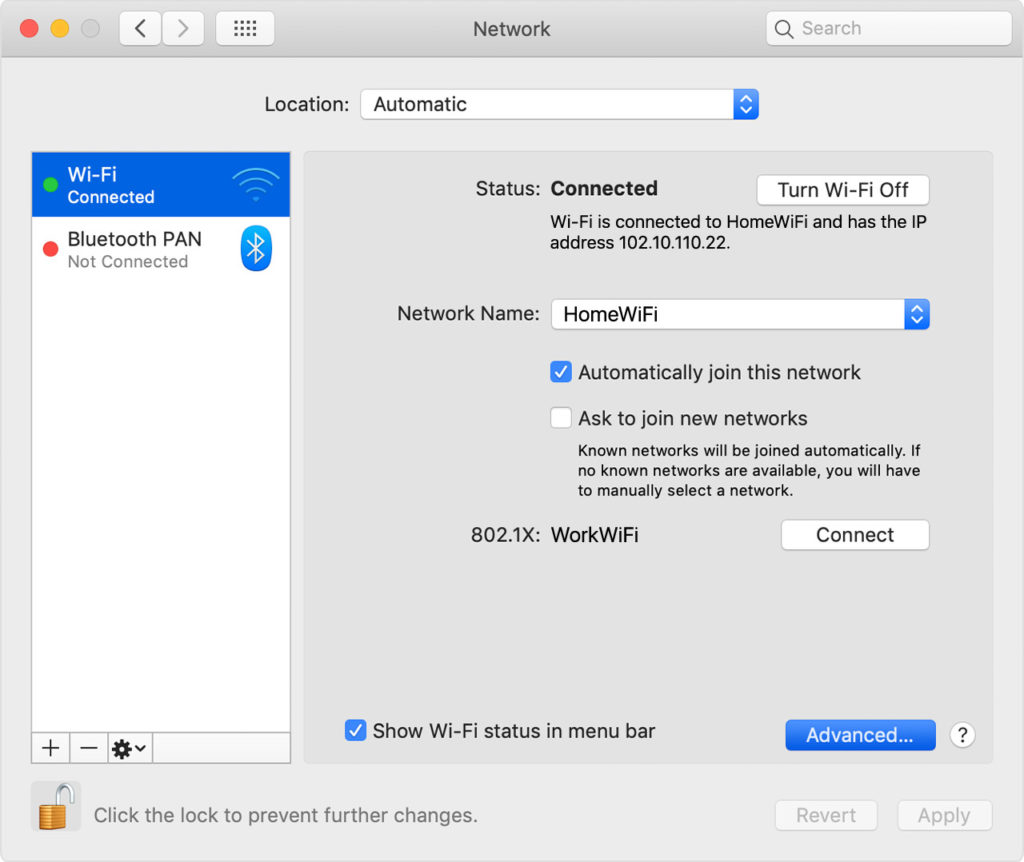
3. Select the Wi-Fi connection on the Left and then click Advanced in the bottom right
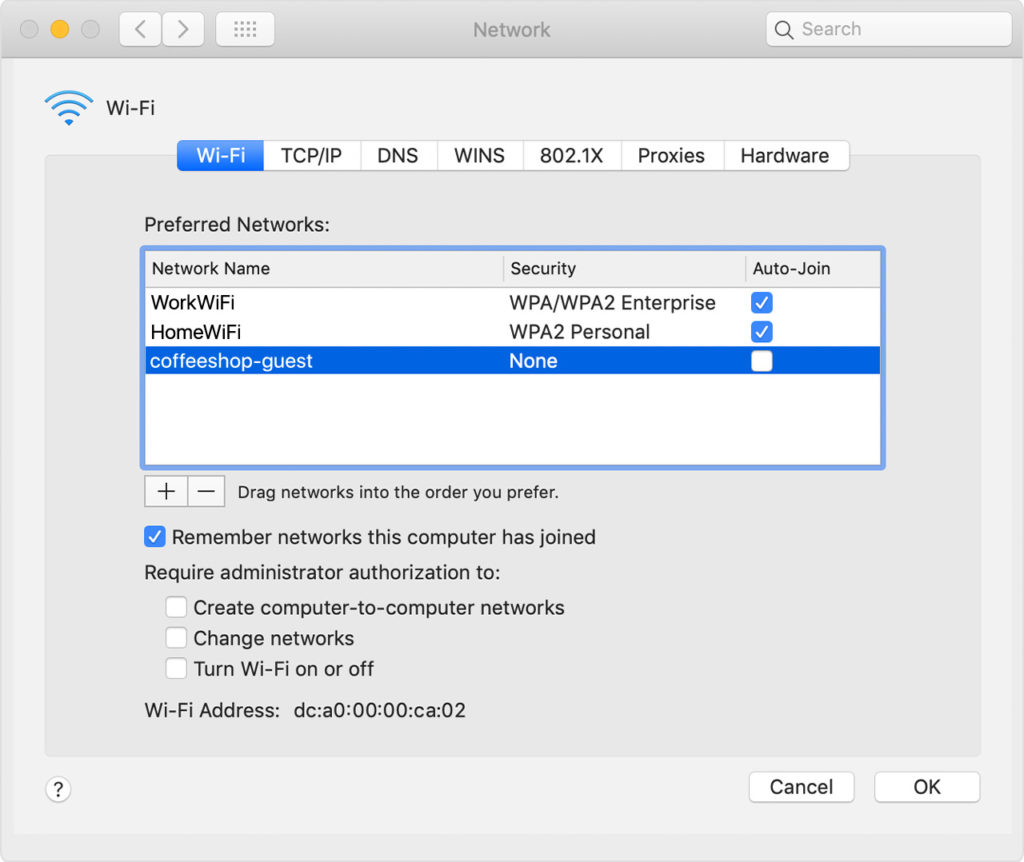
4. Highlight the WiFi Network you want to forget and then click the minus sign (-). If you need select more than one wireless network to be deleted, hold down the Command key and click on each one you want to forget.
5. A popup will then appear that says “Remove Wi-Fi network Network Name? Your Mac and other devices using iCloud Keychain will no longer join this Wi-Fi network.” Click on the blue Remove button.
How to Stop Auto Joining a WiFi Network
You can turn off Auto-Join for a specific Wifi connection.
1. Open System Preferences from the menu in the upper-left corner of your screen.
2. Click on the icon for Network.
3. Select your Wi-Fi connection in the list on the left, and then click on the “Advanced” button in the toolbar at the top of the screen.
4. Uncheck the box next to “Auto-Join” for your preferred network and click on the OK button. Your Mac will no longer automatically join this Wi-Fi network, and you can always reconnect manually if needed.
How to Prioritize WiFi Networks on macOS
If you have multiple wifi networks in your area and want to give priority to a particular network, follow the steps below.
1. Open System Preferences from the menu in the upper-left corner of your screen.
2. Click on the icon for Network.
3. Select your Wi-Fi connection in the list on the left, and then click on the “Advanced” button in the toolbar at the top of the screen.
4. Scroll down to the section for “Preferred Networks,” and then drag your preferred network to the top of this list. This will prioritize that network over others when your Mac is searching for available connections.
5. Click on the OK button to save your changes, and then restart your Mac for these changes to take effect.
Your preferred network will now be given priority in the list of available networks, giving you your preferred connection when it is available.


