
by Carla Schroder
You probably already know that a firewall is an essential component in your network border security. But you may not know that a Linux-based iptables firewall is especially robust and configurable. Today we’ll set up system administration using Webmin, and in our next installment we’ll create a good stout Internet-connection sharing firewall.
It’s important to keep in mind that a firewall is only a single piece of your security architecture. It’s equally important to pay attention to your application-level and operating system security. Linux/Unix hosts can be locked down to the point that a firewall is not necessary. But Windows cannot, and Mac OS X is still an unknown.
If there are Windows hosts on your network, your work is cut out for you. A firewall blocks only Internet attacks; it does not stop e-mail- or Web-browser-borne malware. It does not prevent users from installing garbageware, it does not tell you when corporate malware finds a home on your systems, and it does not prevent known malware-friendly applications such as Outlook, Outlook Express, and Internet Explorer from happily inviting cooties into your network.
The Internet is infested with botnets comprised primarily of millions of compromised Windows systems that are polluting the world with spam, phishes, malware and all manner of criminal frauds. Connecting a Windows PC to the Internet is like dressing in hundred-dollar bills and taking a walk in a bad neighborhood. Other platforms have vulnerabilities, but not nearly to the same degree. This series does not cover application or operating system security, so please consult our list of Resources for helpful links.
Say What? Not sure what a particular term means? Check out the PracticallyNetworked Glossary. |
Installing and Using Webmin
Our first job is to install Webmin. Webmin is an excellent multiple-purpose graphical interface for managing Linux hosts, and will be our primary system administration interface in this series. Webmin is modular, so you install only the pieces that you need.
If you’re not logged in to your firewall box, log in now as the root user, then install Webmin:
root@firewall1:~# apt-get install webmin webmin-core webmin-firewall
apt-get will wait for a confirmation before starting the installation. If you can’t see all the output, you can scroll up and down by holding down the Shift key while pressing the Page Up/Page Down keys.
The next step is to enable remote Webmin administration. By default, access is limited to localhost, so you need to edit /etc/webmin/miniserv.conf:
root@firewall1:~# nano /etc/webmin/miniserv.conf
Add this line, using the IP of the computer you’ll be logging in from:
allow=192.168.1.15
Or, you can allow access from your entire subnet, which for this example is 192.168.1.0. Save your changes and restart Webmin:
root@firewall1:~# /etc/init.d/webmin restart
Next, change the root password. Webmin has its own password file, so you can protect your system login. Use this command:
root@firewall1:~# /usr/share/webmin/changepass.pl /etc/webmin root [newpassword]
Now go to a neighboring PC, fire up your Web browser of choice, and go to https://[hostname or IP]:10000/. You will get a warning about the SSL certificate that was created when Webmin was installed. Go ahead and accept the certificate, then log in as root with your new Webmin password, and you will see a screen like Figure 1 (below).
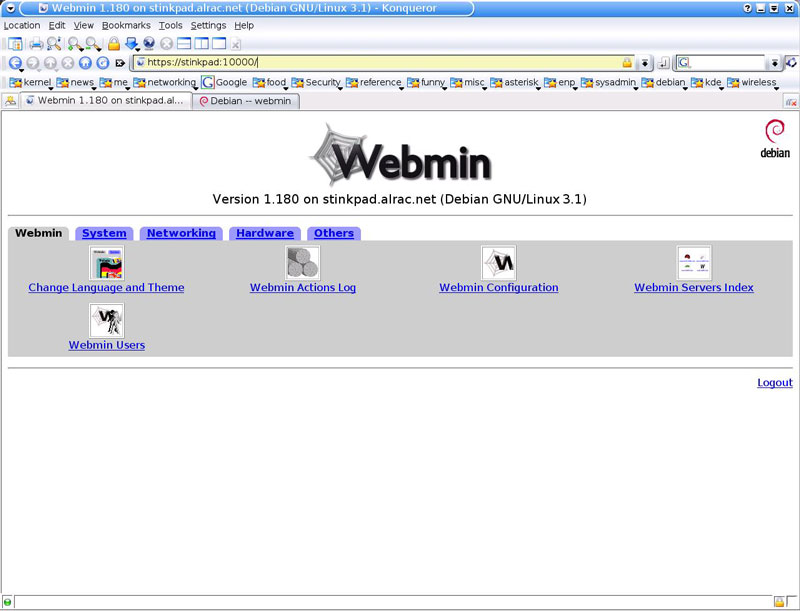
Click on the tabs and take a look around. Notice how the root user has complete powers to do anything. If you’re going to delegate some administration jobs you may create a second user on the Webmin -> Webmin Users tab, and give this user specific, limited powers.
The last step before creating our firewall is to configure networking. The Webmin networking module isn’t all that helpful, so we’ll configure it manually, plus we’ll use ifrename to make sure the configurations stick to the correct interface. We’ll cover that in our next installment.


