Windows XP has a built-in Network Setup Wizard that makes it easy to configure a computer running Windows 98, Windows 98 Second Edition, Windows Millennium Edition, or Windows XP as an Internet Connection Sharing client. You’ll need to check our previous setup articles if you’re configuring a Windows 95 client or a Windows 2000 client.
Start the Network Setup Wizard. If the Wizard refuses to run, saying that it can’t find a network card, make sure that your network card is properly installed. If it is, the driver program for your network card probably doesn’t conform to the Network Driver Interface Specification (NDIS) standard. In that case, you’ll have to configure the client as described on our Windows 95/98SE/Me Setup page.
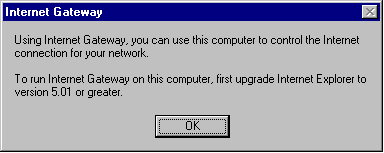
If a Windows 98 client computer is running Internet Explorer 5.0 or an earlier version, this screen appears, advising you to update to version 5.01 or greater. Click OK to continue. If you wish to upgrade Internet Explorer, cancel the Wizard and run it again after the upgrade is complete.
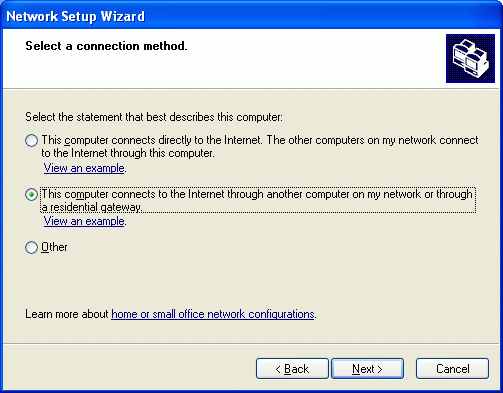
Specify This computer connects to the Internet through another computer (the ICS server), and click Next.
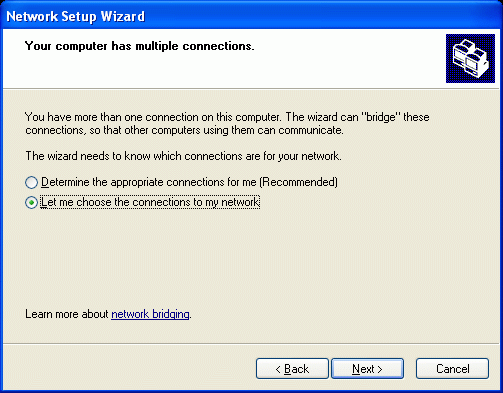
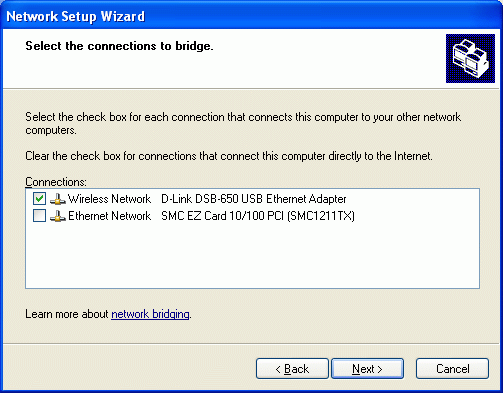
If the computer has more than one network connection, this screen appears. Specify Let me choose the connections to my network and click Next.
Select the connection to the ICS server and click Next. In this example, I’m using a wireless network.
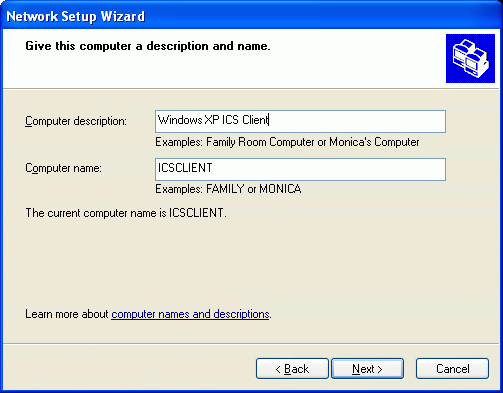
Enter a computer description and computer name. The description appears in My Network Places or Network Neighborhood on other networked computers. The computer name must be unique on the network. For maximum compatibility with all versions of Windows, use 1-12 alphanumeric characters, with no blanks.
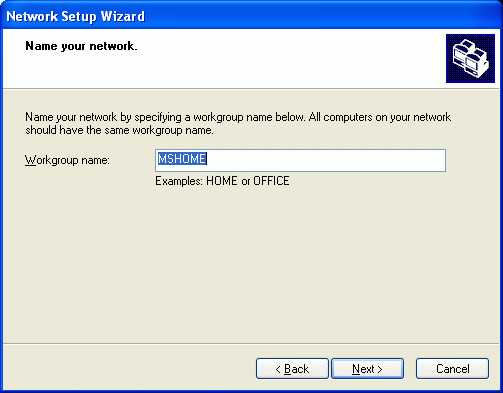
Enter a workgroup name, which should be the same on all of the networked computers. Once again, use 1-12 alphanumeric characters, with no blanks. Be default, the Wizard uses the name MSHOME. If your network uses a different name, enter it here.
The Wizard displays the settings that you’ve made. Scroll down the list to see all of them. To change a setting, click Back. To accept the settings, click Next. To stop running the Wizard, click Cancel.
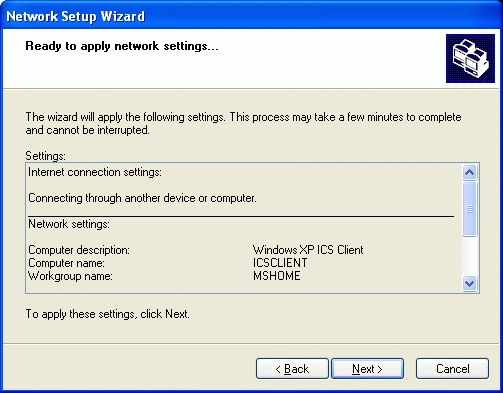
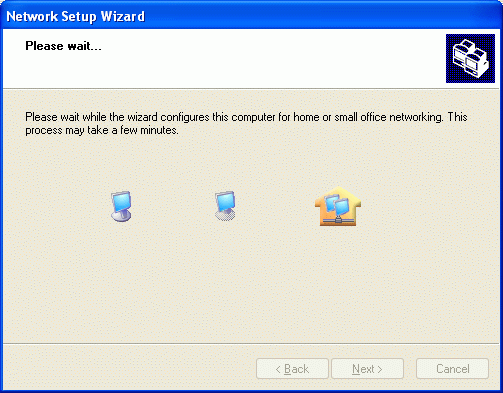
The Wizard then configures the computer’s network settings. The process may appear to stop for a time, but let it continue to completion.
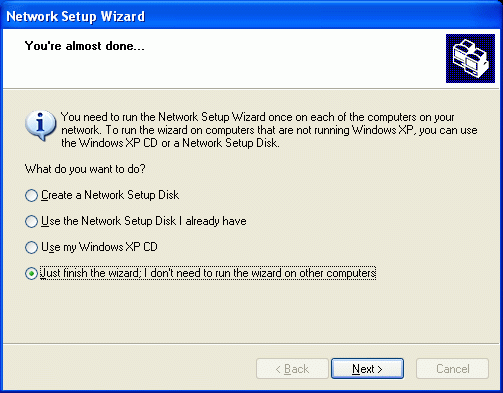
If the Wizard is running on a Windows XP computer, this screen appears. Specify Just finish the wizard and click Next.
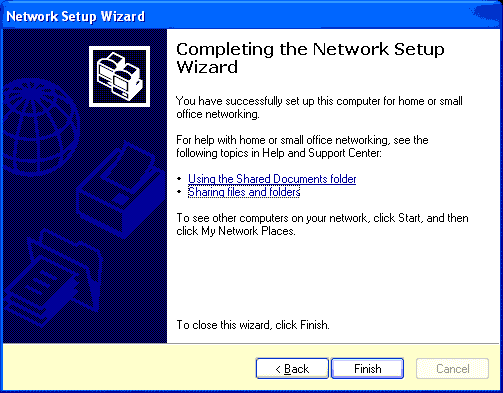
When the configuration is complete, the Wizard’s Completion screen appears. Click Finish to exit.
